
If you’ve ever stepped onto your mat eager to move, only to feel a sharp twinge in your wrists during the first Downward Dog, you know how quickly excitement can fade. For many beginners, wrist discomfort pops up early in their practice.
It’s not surprising – in yoga, wrists often bear more load than they’re used to. Plank, Chaturanga, Side Plank, and even a simple Tabletop position all demand that small joints handle a big job.
When wrists aren’t prepared for that work, the result can be soreness, fatigue, or even strain injuries. Research on repetitive wrist extension, something yoga poses require, has shown that it can contribute to issues like carpal tunnel syndrome if left unchecked.
Studies on targeted wrist exercises have found improvements not only for injury recovery but also for prevention. That’s good news for beginners, because strengthening wrists early means better stability, less pain, and more freedom to explore poses.
Strong wrists also open the door to arm balances and inversions, which rely on a stable foundation. If you’ve ever found yourself cutting a sequence short because your wrists felt sore, consistent strengthening can help you hold poses longer and transition more smoothly.
Step One: Preparing with Mobility Work
Before building raw strength, it’s worth checking how mobile your wrists are. Mobility exercises loosen tight tissue, increase blood flow, and prepare joints for the weight-bearing demands of yoga.
These warm-ups work well before class or as part of a home routine.
Wrist Shakes
- Shake your wrists gently, as if drying your hands after washing them.
- Duration: 10-15 seconds.
- Benefits: Relieves stiffness and wakes up the joint.
Wrist Circles
- With elbows bent and hands in light fists, rotate wrists in slow circles.
- Reps: 5-10 in each direction.
- Benefits: Increases range of motion and boosts circulation.
Finger Slides
- Place palms on a table. Slide fingers together, then apart, using light friction for resistance.
- Reps: 5-20.
- Benefits: Improves finger control, helps you press into the mat evenly.
Elbow Rotations
- Extend arms forward, palms up, and rotate elbows inward and outward.
- Reps: 5-20.
- Benefits: Loosens forearms, aiding shoulder and wrist alignment.
Step Two: Building Strength for Yoga-Specific Demands
Once wrists are warm and mobile, the next step is strengthening. You’re aiming to work the flexors, extensors, and stabilizing muscles in the forearms and hands.
Stronger muscles around the wrist joint mean better support during load-bearing poses.
Wrist Curls
- Sit with your forearm on a table, palm up, holding a light weight (a water bottle works fine).
- Curl the weight up, then lower slowly.
- Sets/Reps: 3 sets of 15.
- Targets: Wrist flexors, which balance the stretch you get in poses like Downward Dog.
Reverse Wrist Curls
- Same setup, but palm facing down.
- Sets/Reps: 3 sets of 15.
- Targets: Extensors, which help resist strain in extended wrist positions.
Radial Deviation Curls
- Hold the weight like a hammer, thumb up, and lift sideways toward the ceiling.
- Sets/Reps: 3 sets of 15.
- Targets: Side stability is needed in poses like Side Plank.
Ulnar Deviation with Resistance Band
- Anchor a resistance band under one foot, palm down, and pull outward toward your pinky.
- Sets/Reps: 3 sets of 15.
- Targets: Stability for varied wrist angles during arm balances.
Grip Strength Work
- Farmer’s Carry: Walk while holding weights at your sides for 30 seconds.
- Dead Hang: Hang from a bar, keeping shoulders engaged.
- Benefits: A strong grip can reduce wrist pressure in balancing poses.
Step Three: Yoga Poses That Naturally Strengthen Wrists
Some poses in yoga already build wrist strength if done mindfully.
Forearm Plank
- From forearms on the floor, create a straight line from head to heels.
- Hold: 10-30 seconds.
- Benefit: Strengthens shoulders and core, reducing wrist load in other poses.
Bridge Pose with Engagement
- Lie on your back, press your feet and hands down, lift your hips, and gently drag your feet apart without moving them.
- Reps: 10-20.
- Benefit: Glute activation creates full-body stability, indirectly helping wrists.
Cow-Face Arms with Strap
- Use a belt or yoga strap to connect your hands behind your back.
- Hold: 30 seconds each side.
- Benefit: Opens shoulders, which helps align wrists in weight-bearing poses.
Step Four: Stretching to Maintain Balance
Strength without flexibility can lead to stiffness. Post-practice stretches help maintain mobility and comfort.
Prayer Stretch
- Palms together at chest, lower hands toward waist.
- Hold: 10-15 breaths.
- Benefit: Opens wrist flexors.
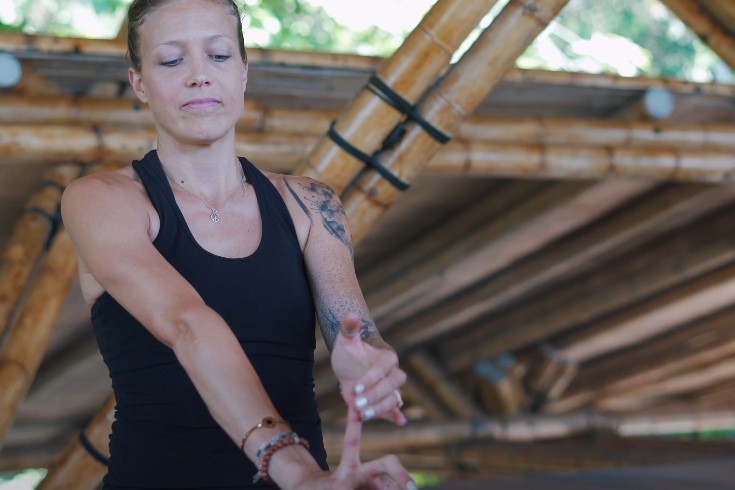
Extended-Arm Finger Stretch
- Extend one arm, palm forward, and pull fingers back with the other hand.
- Hold: 30 seconds each side.
- Benefit: Loosens fingers and palm for better mat contact.
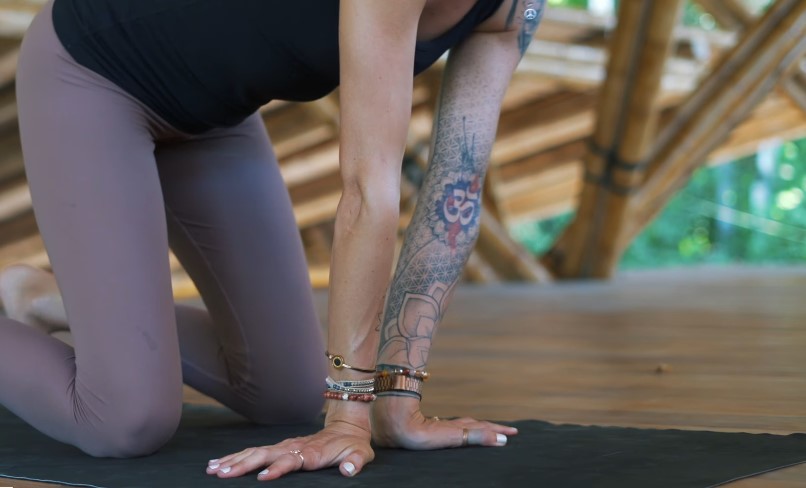
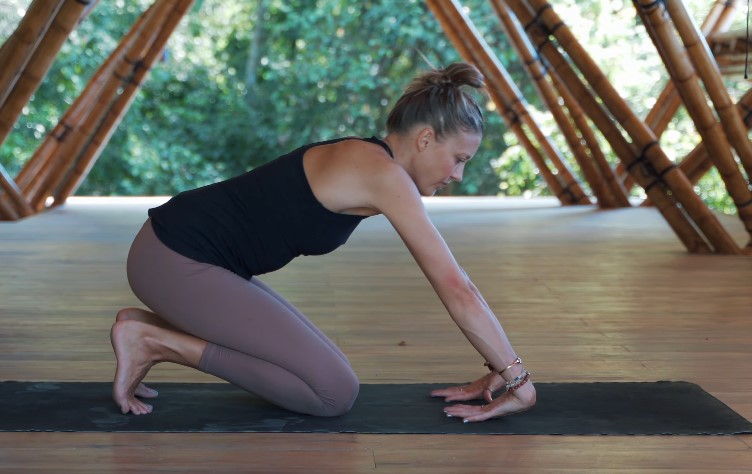
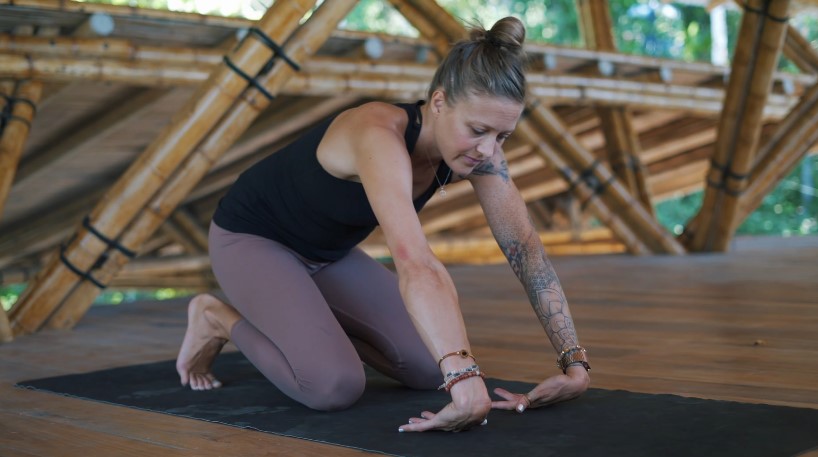
Tabletop Wrist Stretch
- From Tabletop, rotate hands so fingers face toward knees. Rock gently.
- Hold: 30 seconds.
- Benefit: Stretches wrists in all directions.
Fist Strengthening Stretch
- Make fists, squeeze for 2-3 seconds, release.
- Reps: 10-20.
- Benefit: Activates and stretches muscles in one movement.
Step Five: Practicing Safely and Modifying When Needed
View this post on Instagram
Even with the best preparation, you might need adjustments, especially at the start.
- In Plank, drop knees to reduce load.
- In Downward Dog, bend knees to shift more weight into legs.
- Use fists or forearms instead of palms when wrists feel sensitive.
- Place a rolled towel under your palms to lessen the extension angle.
Step Six: Putting It All Together into a Routine
A balanced wrist-care plan fits easily into your week. Here’s a beginner-friendly example:
| Section | Exercises | Duration/Reps | Tips |
| Mobility | Wrist Shakes, Circles, Finger Slides | 10-15 sec, 5-10 reps each | Keep movements light |
| Strength | Wrist Curls, Forearm Plank, Grip Work | 3 sets of 15, 10-20 sec hold | Start with no or light weight |
| Stretching | Prayer Stretch, Tabletop Variations | 30 sec holds | Breathe and relax shoulders |
Do this 2-3 times per week, either before yoga to prepare or after practice to reinforce strength and mobility.
What You Might Notice After a Few Weeks
Consistent work often pays off within a month or two. Many beginners find they can hold Plank longer, flow through transitions with less fatigue, and spend more time in poses without thinking about wrist discomfort.
That opens the door to learning arm balances or even inversions later on. Your wrists, like any part of the body, adapt to the demands you place on them.
Give them consistent, intentional work, and they’ll support you in return.
Closing Thoughts
Wrist strength isn’t the most glamorous part of yoga, but it can be the difference between a practice that feels cut short and one that feels fluid and sustainable.
By combining mobility, strength, and stretching and practicing with care, you can turn a common beginner’s challenge into a quiet strength that supports every pose you take on.